How to Build Your First Dining Table Step by Step?
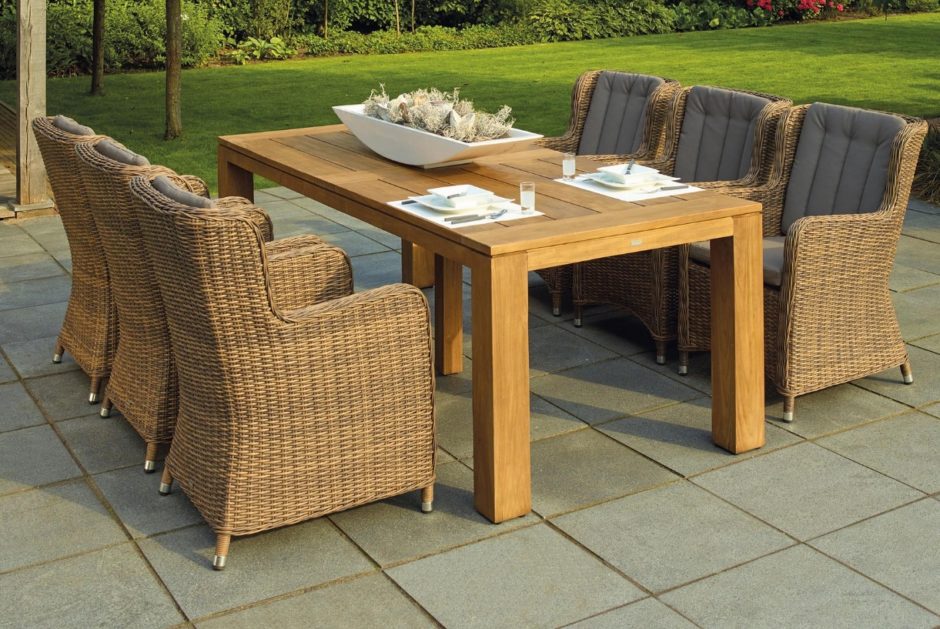
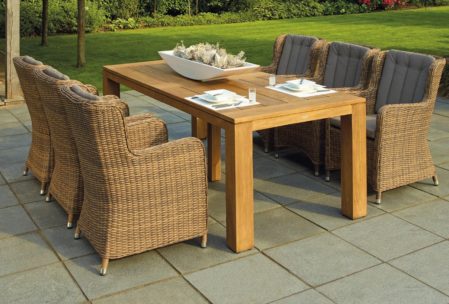
If you’re crafty, you’ve probably always wondered about the opportunity to build your own dining table. DIY dining table plans are easy to find online but some of them can produce mediocre results. Take some time to go through the opportunities and identify the right one. Having a strategy and following a step by step approach is one of the biggest essentials in terms of consistency and putting together a dining table the entire family is going to enjoy.
Step 1: Tools and Supplies
Gathering everything that you need to build your own dining table before getting started can speed things up and ensure smooth project execution.
Here are a few of the biggest essentials you will need to gather in order to tackle the project successfully:
- Table legs
- Wooden boards (following the specifications in the dining room table woodworking plan of preference)
- Screws
- Wood glue
- Wood filler
- Tape measure and pencils or markers
- A drill
- Circular saw
- Handheld Sander
- Drill bit set
- Level
- Kreg jig
- Safety glasses and other safety gear
- Varnish (optional)
- Wood conditioner, primer, and paint (optional)
- Hammer, screwdriver, brushes
Step 2: Process the Boards
The material that a dining table is made of will be determining for its durability and aesthetic appeal. This is why most people go for materials like hardwood. Plywood is more economical and highly durable but it doesn’t have the same sturdy feel. If you’re looking for more sophisticated DIY dining table plans, you could possibly be working with a combination of materials like hardwood and glass.
For a first experiment, however, you may want to keep things simple.
Following the specifications, you should either have your boards sized and cut professionally, or you should tackle the task on your own. Most yards offer milling and straightening services that are inexpensive and that produce highly accurate results. Alternatively, a good table saw will do the job.
Step 3: Make the Table Base/Frame
The table frame is the first thing to do because it will support the top and the legs will also be attached to it. Use a flat, level surface to work on. Using a carpenter’s square or a tape measure, mark all joints and predrill the holes for them.
Next, use screws and glue to fasten the apron ends to the apron sides. When working, make sure that all corners measure 90 degrees. Once you have the frame, you can begin fastening the tabletop boards.
Step 4: Create the Tabletop
To build your own dining table, you will next have to work with the tabletop boards.
Flip the frame over and make sure that the joists are flush with the top of the table. Mark the centers of the apron ends with a marker. Line the first two tabletop boards with this center. If you’re happy with the outcome, use wood glue to position and affix them. When completely satisfied, screw the ends of the boards to the apron ends.
After you have the central boards in place, you can apply the other ones to cover the rest of the frame. The procedure is the same – use wood glue first and screw the boards to the apron ends next. Do not screw the side boards to the joists.
Step 5: Secure the Joists
Following most DIY dining table plans, you will next have to attach the joists. After the wood glue has dried and you have tabletop boards in place, flip the frame over. Screw the joists to the tabletop. Two-inch screws will usually be sufficient but follow the instructions in your dining room table woodworking plan. The general rule of thumb is to use two screws per joist per board.
Step 6: Attach the Legs
The final aspect of constructing the table is attaching the legs to the frame. Usually, the legs are attached to the inside part of the frame. Some people like to apply wood glue on top of the screws. In other instances, the glue can be omitted for the purpose of removing the legs easily and making the table a bit easier to store when not in use.
Step 7: Sanding, Finishing, and Decorative Work
If you like naked and ascetic dining room tables, your work is already done. In most instances, however, a few finishing touches will make the outcome more polished and aesthetically-pleasing.
Exposed holes (like screw holes) can be covered with wood filler. Let it dry before doing anything else.
Once the filler is completely dry, use fine sandpaper and go over the entire tabletop. Remove the sanding residue thoroughly before applying any varnish or stain to the surface. Before the final step, apply wood conditioner and a stain of preference. The final coat will be clear, and it will serve a protective purpose.
Alternatively, you can go for primer and paint. If you would like something a bit different from the natural appearance of wood, painting the table would be an excellent choice.
Leave a Reply