5 Must-Have Woodworking Tools for Every Advanced Carpenter
There’s an old saying that goes; It is a poor craftsman who blames his tools. I think that’s only partially true. It is indeed the craftsman’s responsibility to create the best possible pieces of finished work. But, truth be told, if he doesn’t have the proper tools, a high-quality result may be out of reach. My complete list of must-have tools probably has a couple of hundred items on it. But if I go through them all, you won’t have any time to spend in your shop. So, to keep a handle on it, let’s explore my list of 5 Must-Have Woodworking Tools for Every Advanced Carpenter. We’ll look at 2 small tools and 3 big boys.
Rockler® 3-Way Face Clamp
If we were all born with three arms and hands, woodworking would be so much easier. We could use two hands to hold a couple of pieces of wood together, and the third to wield the screwdriver or hammer. But, for us mere mortals with two hands, clamping pieces together while we join them is a necessity.
In my own shop, I have C clamps, bar clamps, and spring clamps ranging in size from 2 inches all the way up to 6 feet. But there is one particular clamp that is a go-to champion.
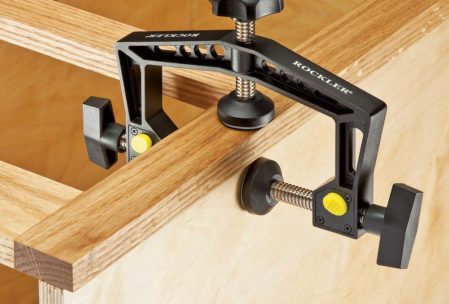
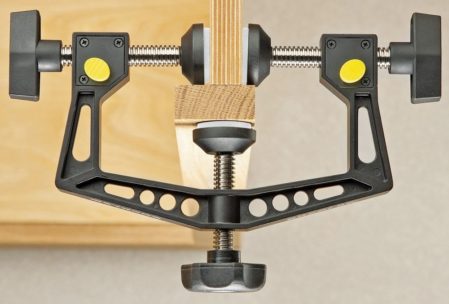
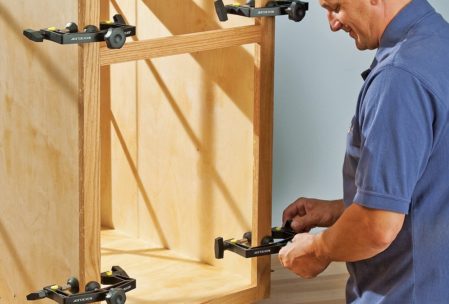
The Rockler® 3-Way Face Clamp is an easy to use, yet fantastic design. It is definitely a must-have for every advanced carpenter. Clamp the face frame of a cabinet edge, or a shelf edging, with precision. Yes, there are other 3-way C clamps on the market, but this feature-rich entry is a winner.
Let’s start with the quick-release threads. See those yellow buttons on the clamp? Push them in and the threads are released, allowing you to get your pieces secured in a second without having to twist the handles over and over. And over and over. The non-marring rubber pads mean you can use the Rockler 3-way on finished wood without fear of damage.
The main clamps open 5 inches, and the jaw has a depth of 3 inches. For around $38, it’s such a great design that Rockler has a patent pending for it.
Kreg Jig® R3
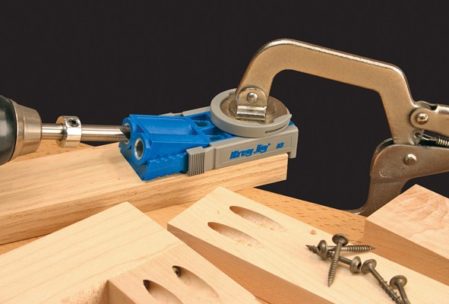
Hiding the screws that hold a piece of fine furniture together is the signature of any advanced woodworking carpenter. A time-honored method is to use so-called pocket screws. An angled hole is drilled into the hidden face of one piece of wood that is to be joined with another. A specially-designed screw is inserted into this “pocket” and run through the edge, into the adjoining piece. For a completely hidden fastener, a wood plug may be glued into the pocket and sanded smooth with the surrounding surface.
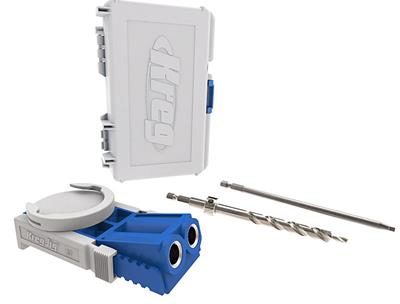
Make this tricky task easy with the Kreg Jig® R3 kit. It contains everything you need to make perfect pocket screw joints. Just clamp the jig in place, drill the pocket, insert the screw, and move on! Yes, it’s that simple.
They’ve thought of everything in this kit. The strong nylon jig has two metal-lined drill guides, which means you can clamp it very close to a corner, if needed. The jig has a pair of independent sliding adjusters to allow you to drill pockets in materials ranging from ½” to 1 ½” in thickness with perfection. Markings on the sliders do the calculating for you, so no math is necessary!
You can buy the jig separately, but I recommend this kit because it comes with everything you need. There is a specially designed drill bit with a lock-ring, so you can drill each hole exactly the same depth. There is a starter assortment of pocket screws in lengths ranging from 1 ¼” up to 2 ½” along with a special driver bit, and even 5 wooden dowels, trimmed to the proper angle to make them flush when inserted in the hole. All in a heavy-duty locking case. For about $45, it’s a must woodworking tool for every advanced carpenter.
The Big Things
Wood Lathe
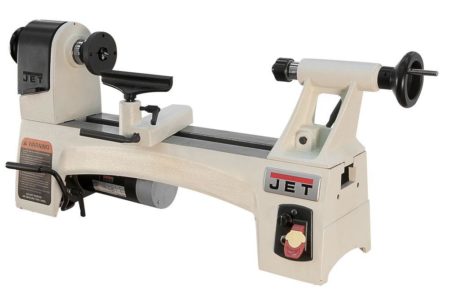
Being able to add “turned” elements to your advanced woodworking projects really steps them up a notch. Whether you’re in need of some spindles for a chair, or you want to create accent pieces like bowls or candleholders, you need a lathe. There are so many good lathes out there (and some bad ones, too) that I can’t go into all of them here. So, let’s look at what you need to begin turning.
Lathes come in a variety of sizes, so make sure you get one large enough to handle the jobs you have in mind. Then go at least one size larger because, once you start turning wood, you’re going to get addicted to it. Look for a machine with a very heavy beam (cast iron is best) because that heft helps dampen vibration, which has ruined many a turned piece. The lathe must sit on a very heavy stand or be bolted to a sturdy bench.
Look for a unit with a variable speed motor. A good lathe will be able to spin in a range from 500 RPM all the way up to 4000 RPM. The switch needs to be in a place that will be handy to reach in an emergency.
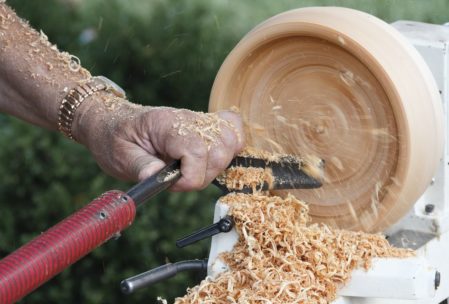
Look closely at the headstock – that’s the motor-driven end piece that your wood will be clamped or screwed to. If you want to make large items like bowls, be sure that the headstock can be swung out to the side, or has an outboard faceplate on it, to give you enough room for that large piece of wood. The passive mounting point is called the tailstock. It should have a
The tool rest is very important. It’s the piece your chisel will lay on as you do your turning. ALWAYS hold your tool securely against the rest. Without the rest, a chisel can get snagged on the spinning wood and become a razor sharp flying object. Therefore, the rest must be very sturdy and lock down securely.
Frankly, buy the largest, heaviest lathe with the biggest motor you can afford, and remember to leave enough budget for the best set of chisels you can find. Chisels must be kept extremely sharp and treated like the fine knives that they really are.secure locking mechanism.
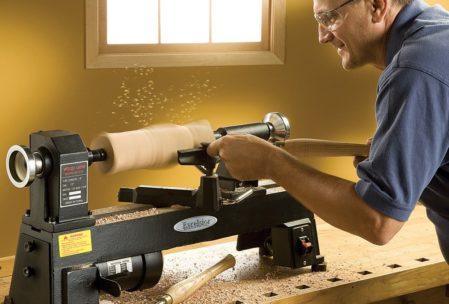
The tool rest is very important. It’s the piece your chisel will lay on as you do your turning. ALWAYS hold your tool securely against the rest. Without the rest, a chisel can get snagged on the spinning wood and become a razor sharp flying object. Therefore, the rest must be very sturdy and lock down securely.
Frankly, buy the largest, heaviest lathe with the biggest motor you can afford, and remember to leave enough budget for the best set of chisels you can find. Chisels must be kept extremely sharp and treated like the fine knives that they really are.
Compound Miter Saw
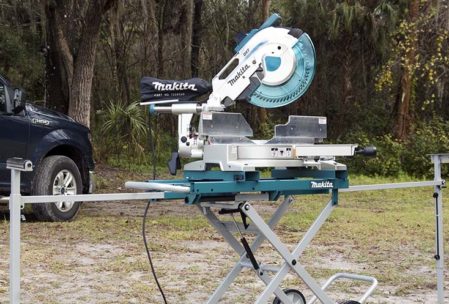
Your assortment of saws should include a compound miter saw. Sure, you can do most of the things a miter saw can do with a table, band, or circular saw. But this versatile, precision machine can make easy work of angle cuts, even really weird ones. Like the lathe, there are endless options out there from many makers. I think there are a few keys features to look for, and if you find one with the features that you like, it’s the one for you.
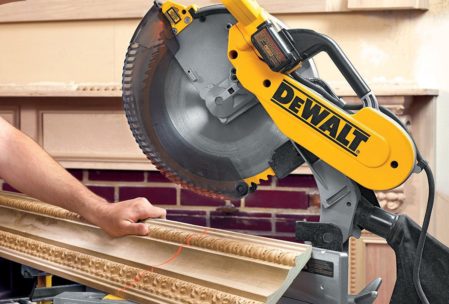
For most advanced woodworking carpenters, you should pass by the small 8-inch models. Although there are 12-inch, and even larger models, I have a 10-inch. For the work I do, it has never let me down. Of course, one of the reasons it works for me is that mine is also a “slider” which means that the entire cutting head not only moves up and down. It rides on a pair of stainless steel rails that allow it to move laterally about 10 inches as well. I can cut 4×4’s and 2×10’s without hesitation. I think choosing a slider model is the way to go.
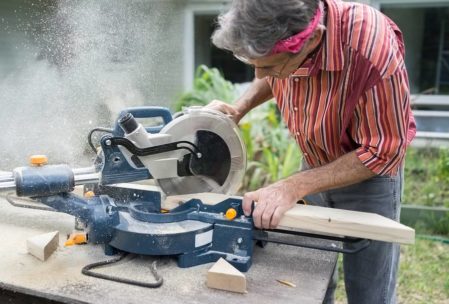
For cutting angles, the ability to adjust both the horizontal and vertical angles at the same time means I can get really fancy with a single cut. And if I mount the miter saw on a stand made specifically for my model, the guides on the stand allow me to do those fancy cuts repetitively. For example, I recently built new stairs on a porch and had to cut over 100 railing balusters to the same length with a 32.5° angle. I locked in the angle and measurements, and had them all done in minutes.
Jointer
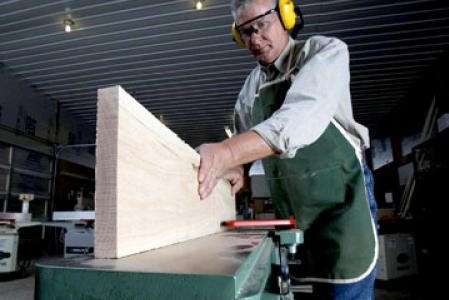
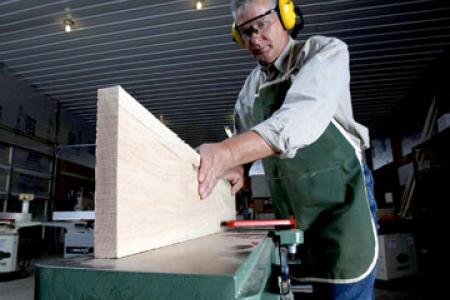
Joining two pieces of wood side-by-side for a table top or any other smooth surface wider than one board, requires absolutely perfect edges. Sure, you can use that little $15 hand plane and do it old school. I’ll grant you that there is some satisfaction in doing it that way. But, if you want to plane those edges perfectly in the least amount of time, you need a jointer.
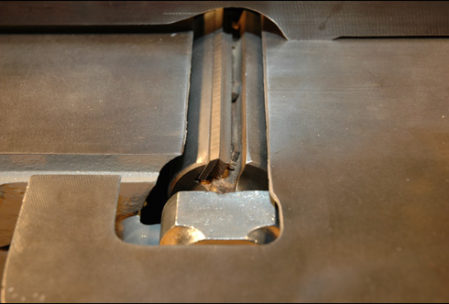
Simply put, a jointer has a smooth table and an upright guide edge. In the middle of the table, is a spinning blade that shaves the board’s edge to perfection in just a pass or two. That 20-minute hand planing task just got finished in 20 seconds! Still want to go old school?
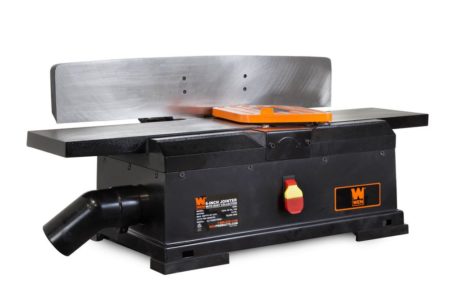
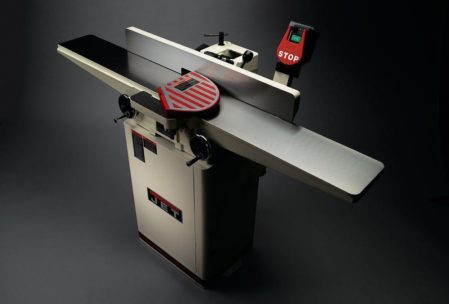
A quality jointer is going to set you back some bucks. There are benchtop models worth looking at in the $250-$500 range. Heavy-duty floor models range from $1,000 and up. The most expensive of them combine jointer and planer functions. If you have the budget, this is the way to go.
The Well-Equipped Advanced Carpenter
There you have it. My 5 Must Have Woodworking Tools for Every Advanced Carpenter. These are tools that not only help you create perfect edges, joints, and shapes. They save time while doing it. Your advanced woodworking projects will turn out better, and more quickly, than you ever imagined.
Leave a Reply